All posts by ronox

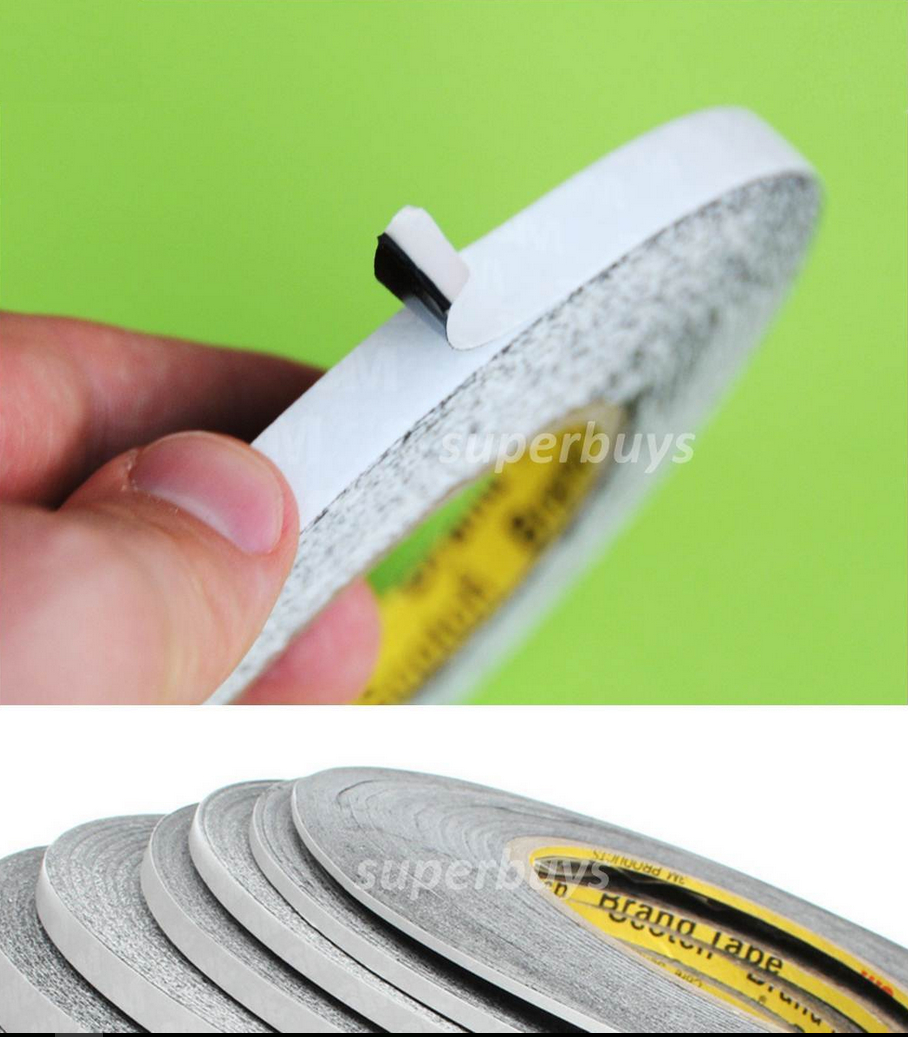
Long thin rolls of thermal tape exist, perfect for sticking the LED strip into a monitor

I just found out that thermal tape comes in big long thin rolls, and apparently works quite well too.

This is perfect though for use in the wacom monitor, since it makes it safer to over power the backlight, and have reliable heat control.

Also, many LED backlight kit suppliers also sell the rolls of thermal tape.

Continue reading Long thin rolls of thermal tape exist, perfect for sticking the LED strip into a monitor

Possibilities for a brighter backlight – XL4015 adjustable stepdown converter

Ok, so ive been doing a little research inspired by my obtaining that much needed step down converter for the wacoms backlight.

^ [ This is a very stable output ]

First of all, the output seems stable enough it could be used to directly drive the LEDs. its stepping down 24v to about 12v, touching it in places didnt seem to cause random jumps, which means left to itself it should be fine. Also it handled power just fine, didnt even need the heatsink (which came included).

Continue reading Possibilities for a brighter backlight – XL4015 adjustable stepdown converter

Test post on the new site (host)

I have been messing around with domain urls, i needed to move my site to a new account, since 000webhost might be erasing my site soon, plus i need the new cpanel and php versions and etc. but i have to move to a whole new account for that. anyway, now, i can park domains again, but i have also set my blog to work with any doman, not just oldmanbeefjerky.com, now ronox.xyz works too, this test will confirm it anyway. i did this by adding

define('WP_HOME', '/');
define('WP_SITEURL', '/');

to the wp-config.php file after the table_prefix part, but i added ‘/wordpress/’ because my blog doesnt exist on the root of the site.


Done! everything is working, everything is awesome!

I have finished the repair, the monitor is closed up and done, nothing is more reassuring though than putting something back together and having a bunch of screws left over.

Ive taken a few pictures during closing, its actually a little bit trickier than i thought. There are two pieces of metal that need to go onto the plastic shell before you place the actual monitor in it, but, if you never separate the shell and monitor you dont need to worry about it.

Also, i tested pen functions, its all good too, everything works.

dsc_0189 dsc_0190

Also, i neglected to photograph this but my final setup i closed the monitor with was with a resistor jammed more securely where i photographed it previously, then wrapped in kapton tape. The breadboard wires now plug into the other end of the cable that goes into the USB+fan board, the positive going into the orange slot and the negative going into the yellow as that appears to be grounded for some reason, DO NOT connect to black, traditional color coordination is not used in wacoms.

-edit- note that i may have not properly differentiated between color “brightness” (a setting like contrast) and backlight brightness, aka the light intensity.

Continue reading Done! everything is working, everything is awesome!

Some notes while finalizing the project.

All ive done so far is test the board, while its active, it has yet to be reassembled.

A problem that has been plaguing me is the fact the LED driver cant run off 24v without additional cooling, so i have been looking into options for converting the 24v rails to 12v, which has not worked out to well with what i have available, but then something occured to me, 12v is like a standard in electronics, surely something in this monitor uses 12v, and i was right, there is a 12v output in the power management board, which regulates 24v, 12v, 3.3v and 5v.

Continue reading Some notes while finalizing the project.

Success! Its alive, LED backlight is installed and working in a wacom cintiq 24HD

Ok, the backlight has been installed and i didn’t screw up the LCD, BUT, first things first turbo charged warning here;
Firstly, the reflector guard has like zero clearance, so once the lights are removed it may not easily be reinstalled.
Second, a 10W backlight is not as bright as the original 50W one. I dont think its even close. But, and now we can slow down now, i wasnt able to use the reflector so the LED strips are about 4mm from the LCD where they would have been anyway, but currently are without a reflector and light may be being lost in my setup, it could be that the 10W leds are just as strong as the 50W cffls. In retrospect though, i probably could have rigged something up pulling the reflector out since it was only plastic sheeting.

Continue reading Success! Its alive, LED backlight is installed and working in a wacom cintiq 24HD

LED kit in the wacom status update

Ok, a quick update.

I got the old removed CCFL tubes to work, without a signal input both the LED and the CCFLs operate at 100% power, and i have identified a potential problem, while both are overwhelmingly bright, the CCFLs are running at 24v 2.2A, while the LEDs 12v 800mA tops, which a crude comparison gives me 50W and 10W and i dont know how the output efficiency differs between the two. I cant really safely do a side by side comparison of the outputs, especially since i dont want the CCFLs on the same circuit and potentially compromising it. Both are bright enough that its not really worthwhile to really test which is actually brighter, taking that aforementioned risk.

Currently im in the process of building the LEDs into the special reflector guards for the tubes, i want to keep the reflective sheet in tact so most likely  i think i will be just 3D printing something which the LEDs can slide into, which fits in the slot, and can accomodate a pin of sorts that goes through the holes which previously fastened the silicone into  the guard also. It doesnt look like the LEDs themselves will ever get hot enough that this will pose any threat to printed holders integrity. But, before i do that i might just see what happens if i try hotgluing the LEDs in there, as that would be much quicker, and doesnt really do any harm. in the attempt, especially if i use the non-tacky glue which is more suited as filler material than as a glue since it peels off everything.

One important thing to take from this is, with LED kits, you dont need to have a compatible brightness signal, just bridge the brightness and power in with a 5-20kohm resistor, the higher the better (actually mohm may work too since just touching 12v with one hand and the wire going to the brighness pin is enough across your skin), and it will automatically sit at 100% brightness, and as is the case with most LED kits, often they are a total let down, i highly recommend that you just buy a nice cheap high powered dense packed LED bar or thick powerful backlight LED strip on its own, and just do the brightness control on your own, or with a standalone controller/regulator which takes PWM. The garbage they pair together is, together, not worth it when you have the option of something heavy duty instead for a few bucks more.